Manufacturers: WargamesFoundry, CrusaderMiniatures, FrontRankMiniatures, DreispitzMiniatures
Scale: 28mm
Hi,
my friend Walter is a fan of the rulesystems of "Valour & Fortitude" and he has played several games of Napoleonic Wars. As we both are also highly interested into SYW he made some modifications to make the rules suitable for SYW. Please don´t ask me about the modifications as I am not knowing the rules of this system at all. So it was his job to explain me the rules while gaming.
Franz and Lucas also joined us. They both had already played some Napoleonic battles with the ruleset.
In my opinion the advantage of "Valour & Fortitude" is that it is a quite quick game though you have a good number of figures on the table. In our game we had 3 regiments of cavalry, 7 regiments of infantry and 4 pieces of artillery on each side. And the game took us about two and a half hours.
Normally you game this ruleset with 15mm miniatures. We did it in 28mm. The table was a bit too small. If we will test the modifications for SYW again I will prepare a bigger battlefield.
Walter and Franz played the Prussian forces, while Lucas and I led the Austrians.
As in many other rulesets you have to test if the single brigades will get their orders. Anything else but a "1" is a success. I did not know that it is possible to roll a "1" as often as Lucas and I did. About half of the command tests failed and our brigades kept staying in their positions digging in their noses.
We rolled and performed horribly and so it was no wonder that we had been crushed by the Prussian forces. Only the fact that we kept one of the two objective markers prevented a disastrous defeat.
But in total it had been a good and funny game. The rules are good for gaming a battle with a good amount of troops in one evening.
Thinking of very huge battles with lots of miniatures as we did with playing the scenario of Leuthen (https://dreispitz.blogspot.com/2024/05/syw-gaming-battle-of-leuthen-total.html) my favourite rulesystem is "Field of Battle 3".
But how often do you have the ability to play games lasting more than 6 or 7 hours. So "Valour & Fortitude" is a good alternative for evening battles.
Cheers
Mike
 |
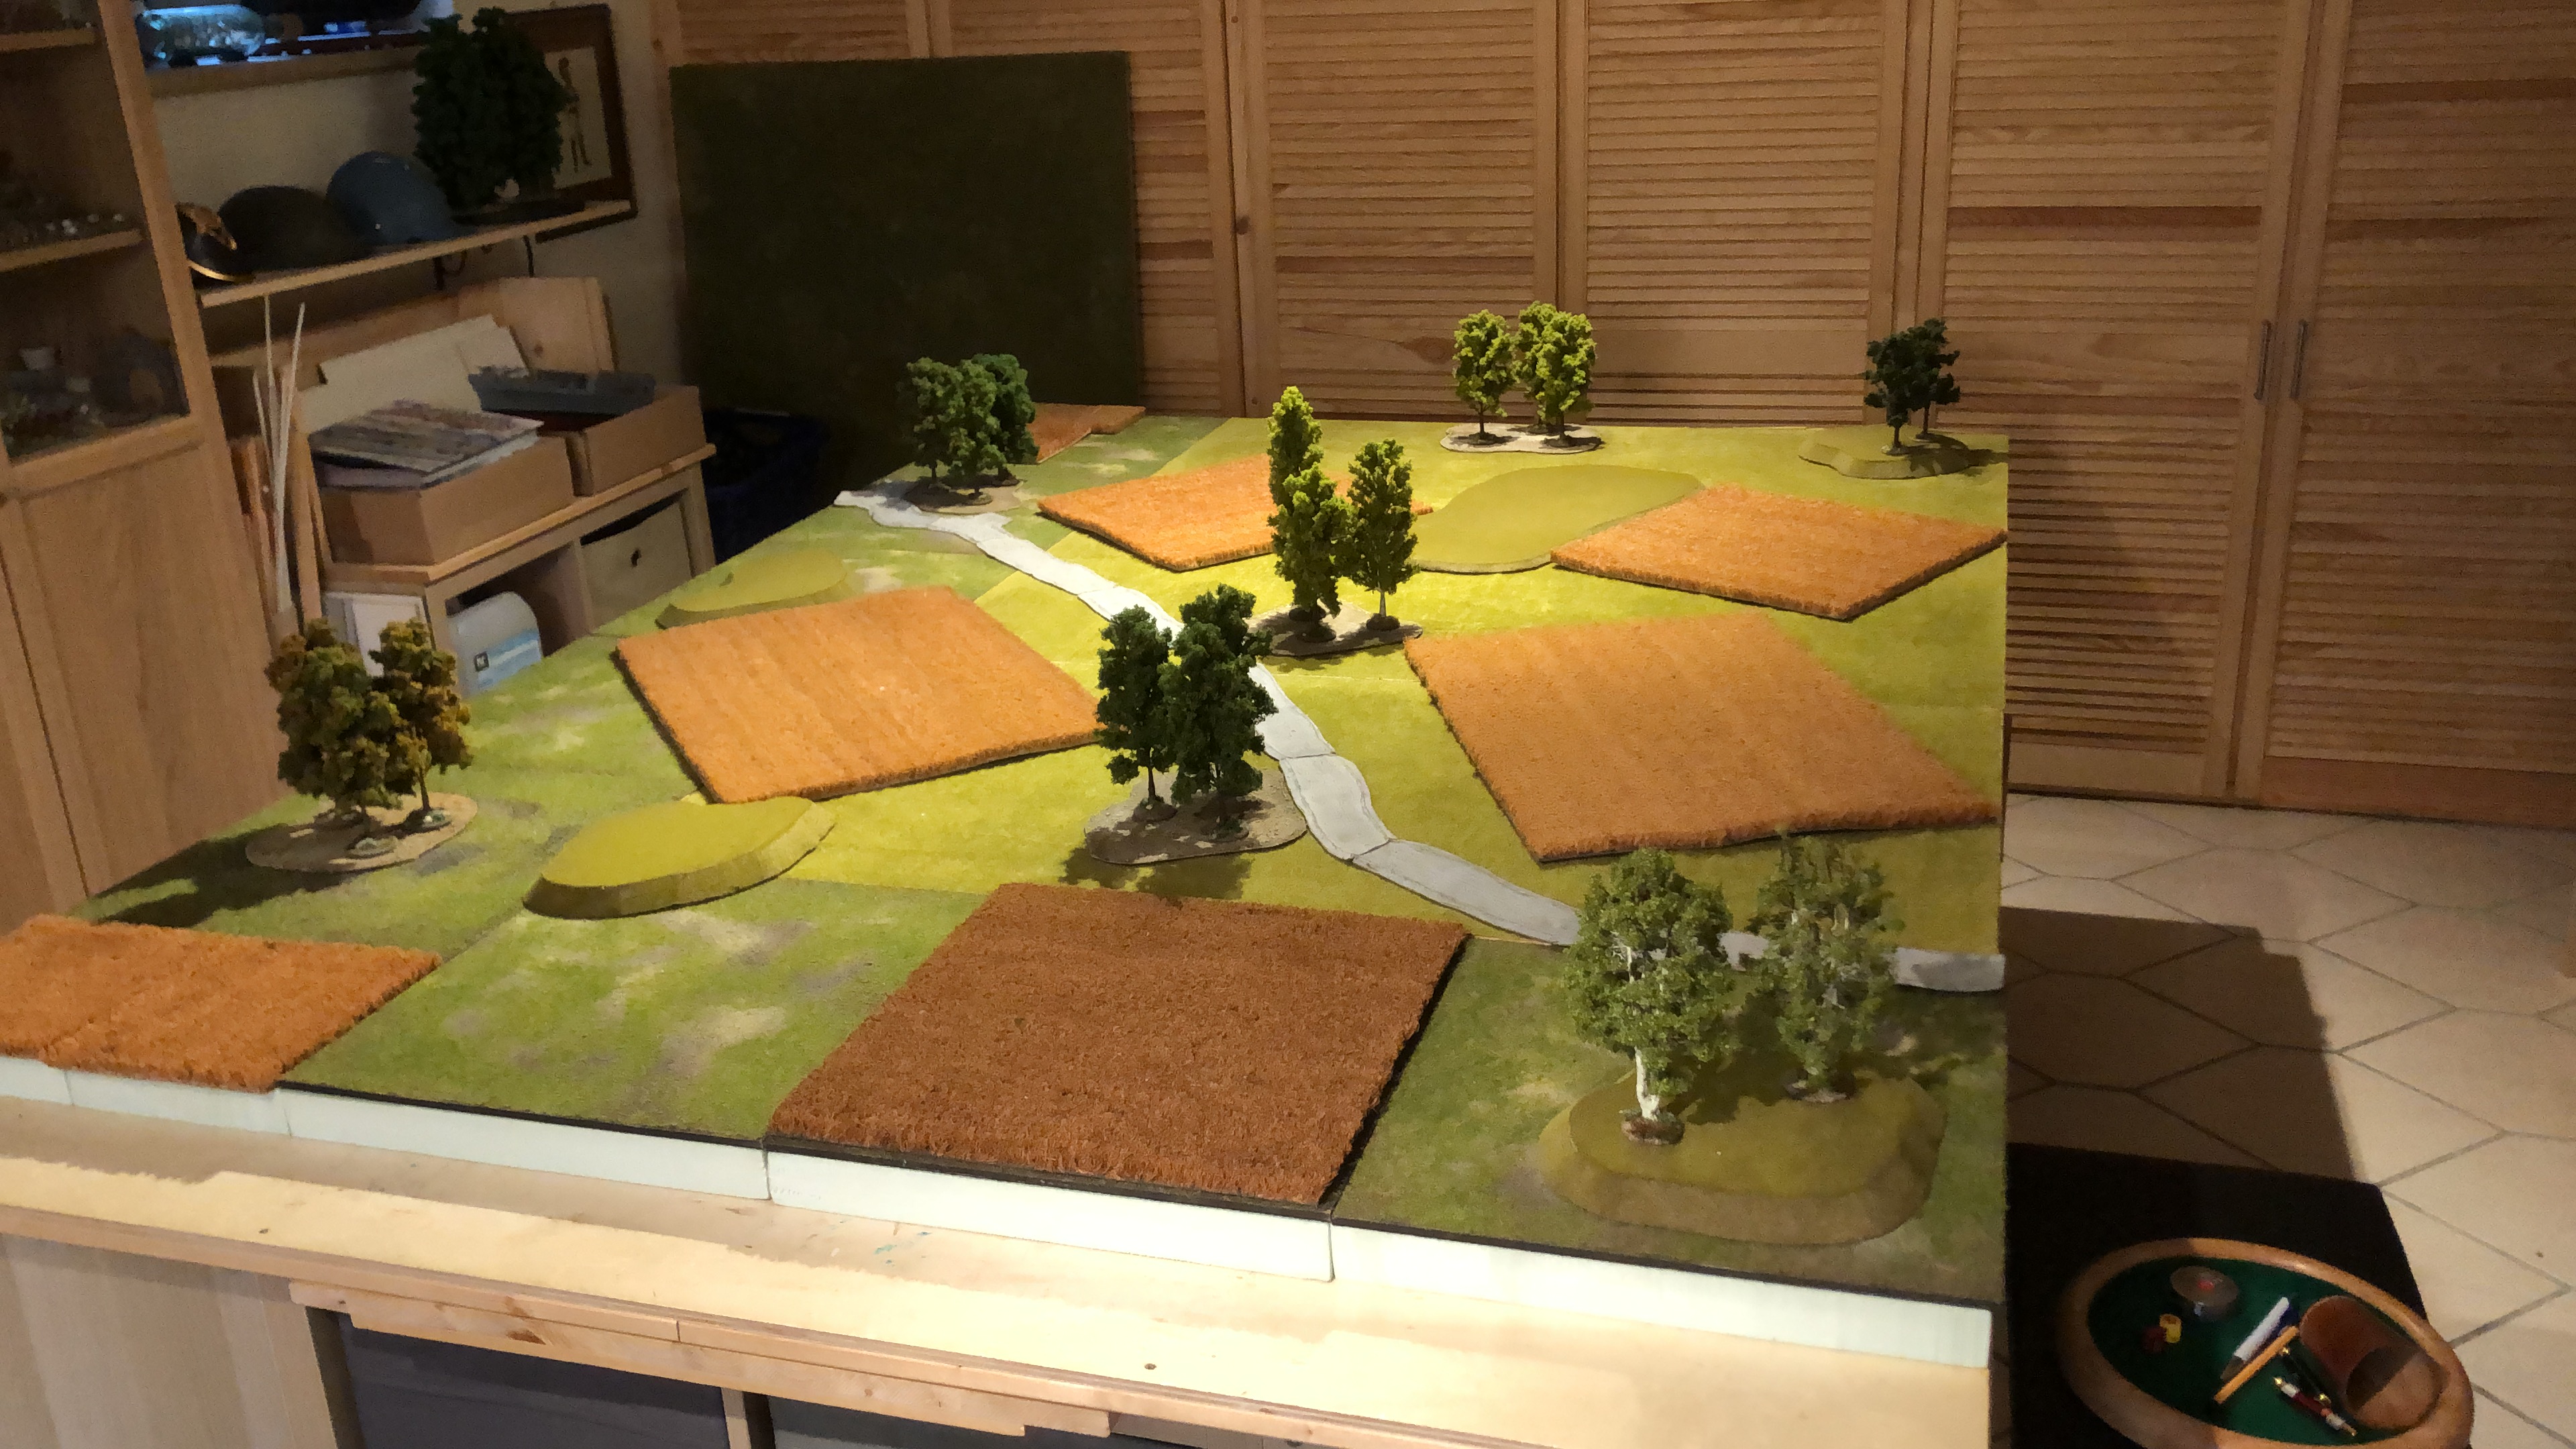
| The battlefield |
 |
| The Austrian forces. We reduced the number of regiments by taking away one regiment of cavalry and two regiments of infantry. This was done due to the relative small battlefield. |
 |
| The Prussian brigades. They had also been reduced. |
 |
| Using our "blinde" to do hidden deployment. |
.JPEG) |
| Lifting the "blinde" - and - |
.JPEG) |
| "Tadaaah" - the opposing cavalries again had been placed facing each other. I don´t know how often this happens - emotionally every tiime. |
 |
| First movement and at least one of the Austrian brigades doesn´t get its orders by throwing a "1". |
.JPEG) |
| On the right flank the Austrians are getting closer to the Prussians trying to outflank their foes. It could have worked but this brigade also refused to get its orders at least two times. Otherwise their positions would have been much better. |
.JPEG) |
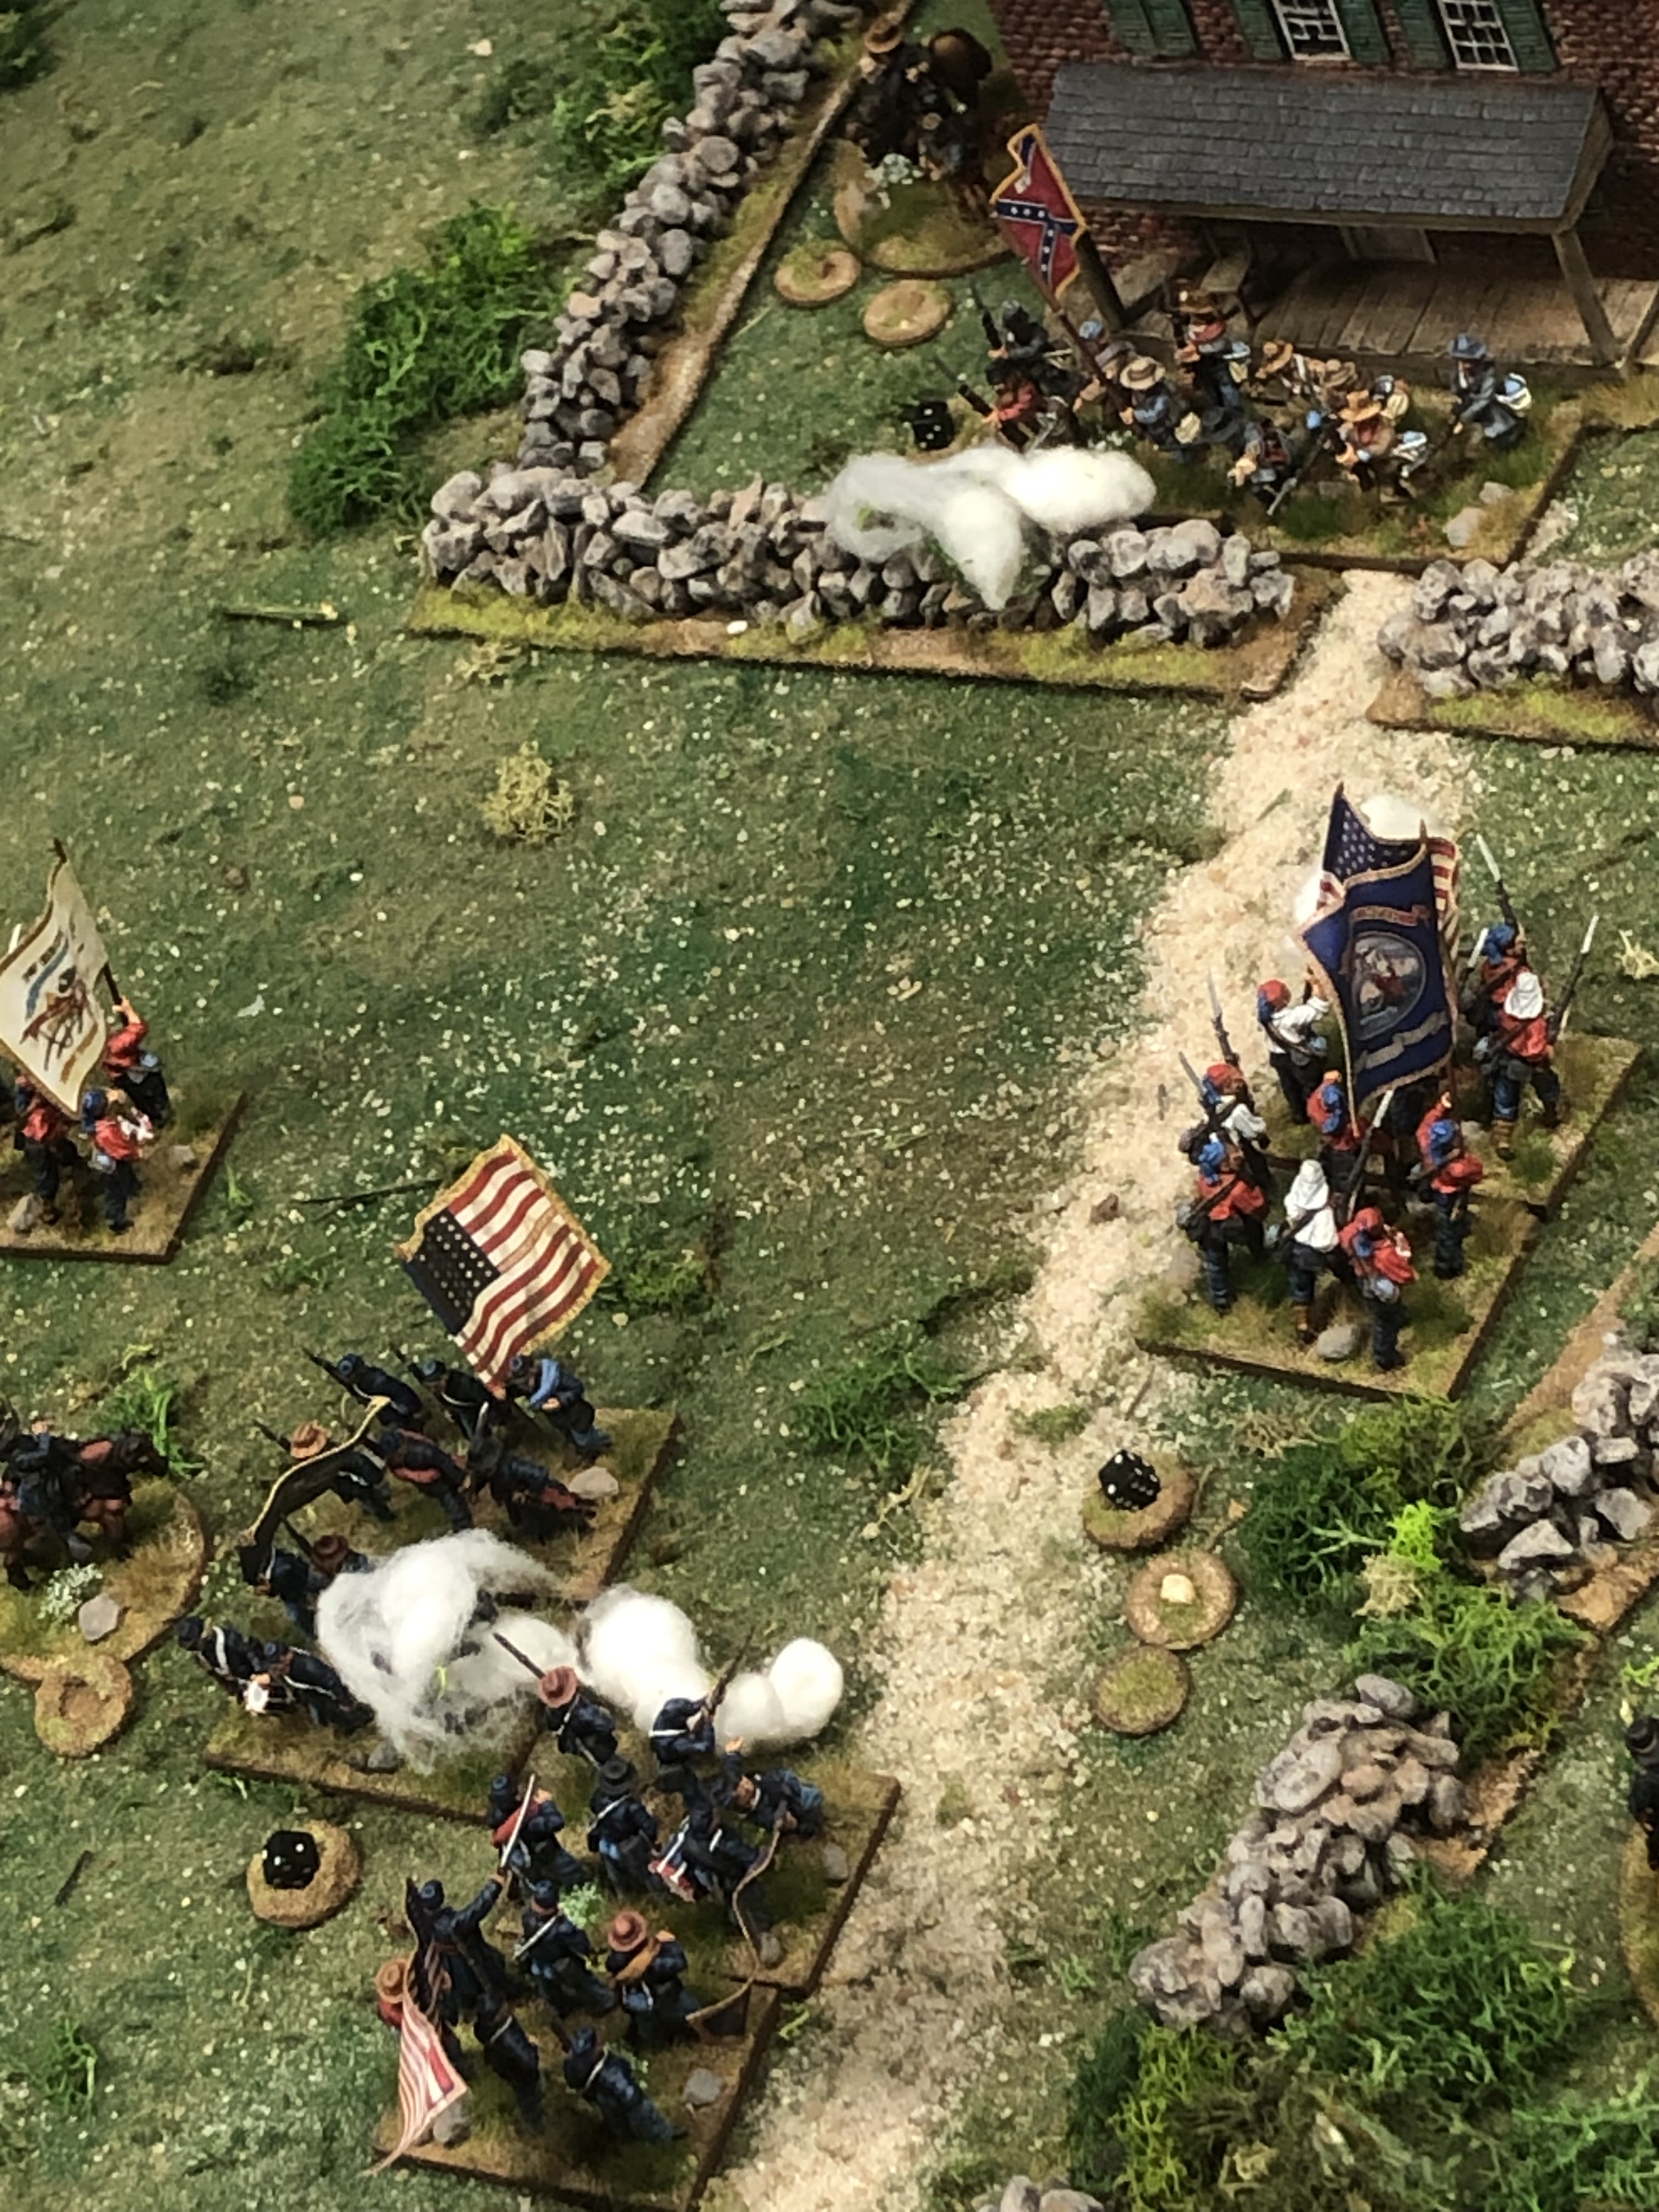
| The Prussians are attacking the centre. |
.JPEG) |
| The Austrians had been able to fend off the first attack. |
.JPEG) |
| Meanwhile the cavalry forces are in fierce fighting. One regiment of Prussian cavalry is already destroyed. |
 |
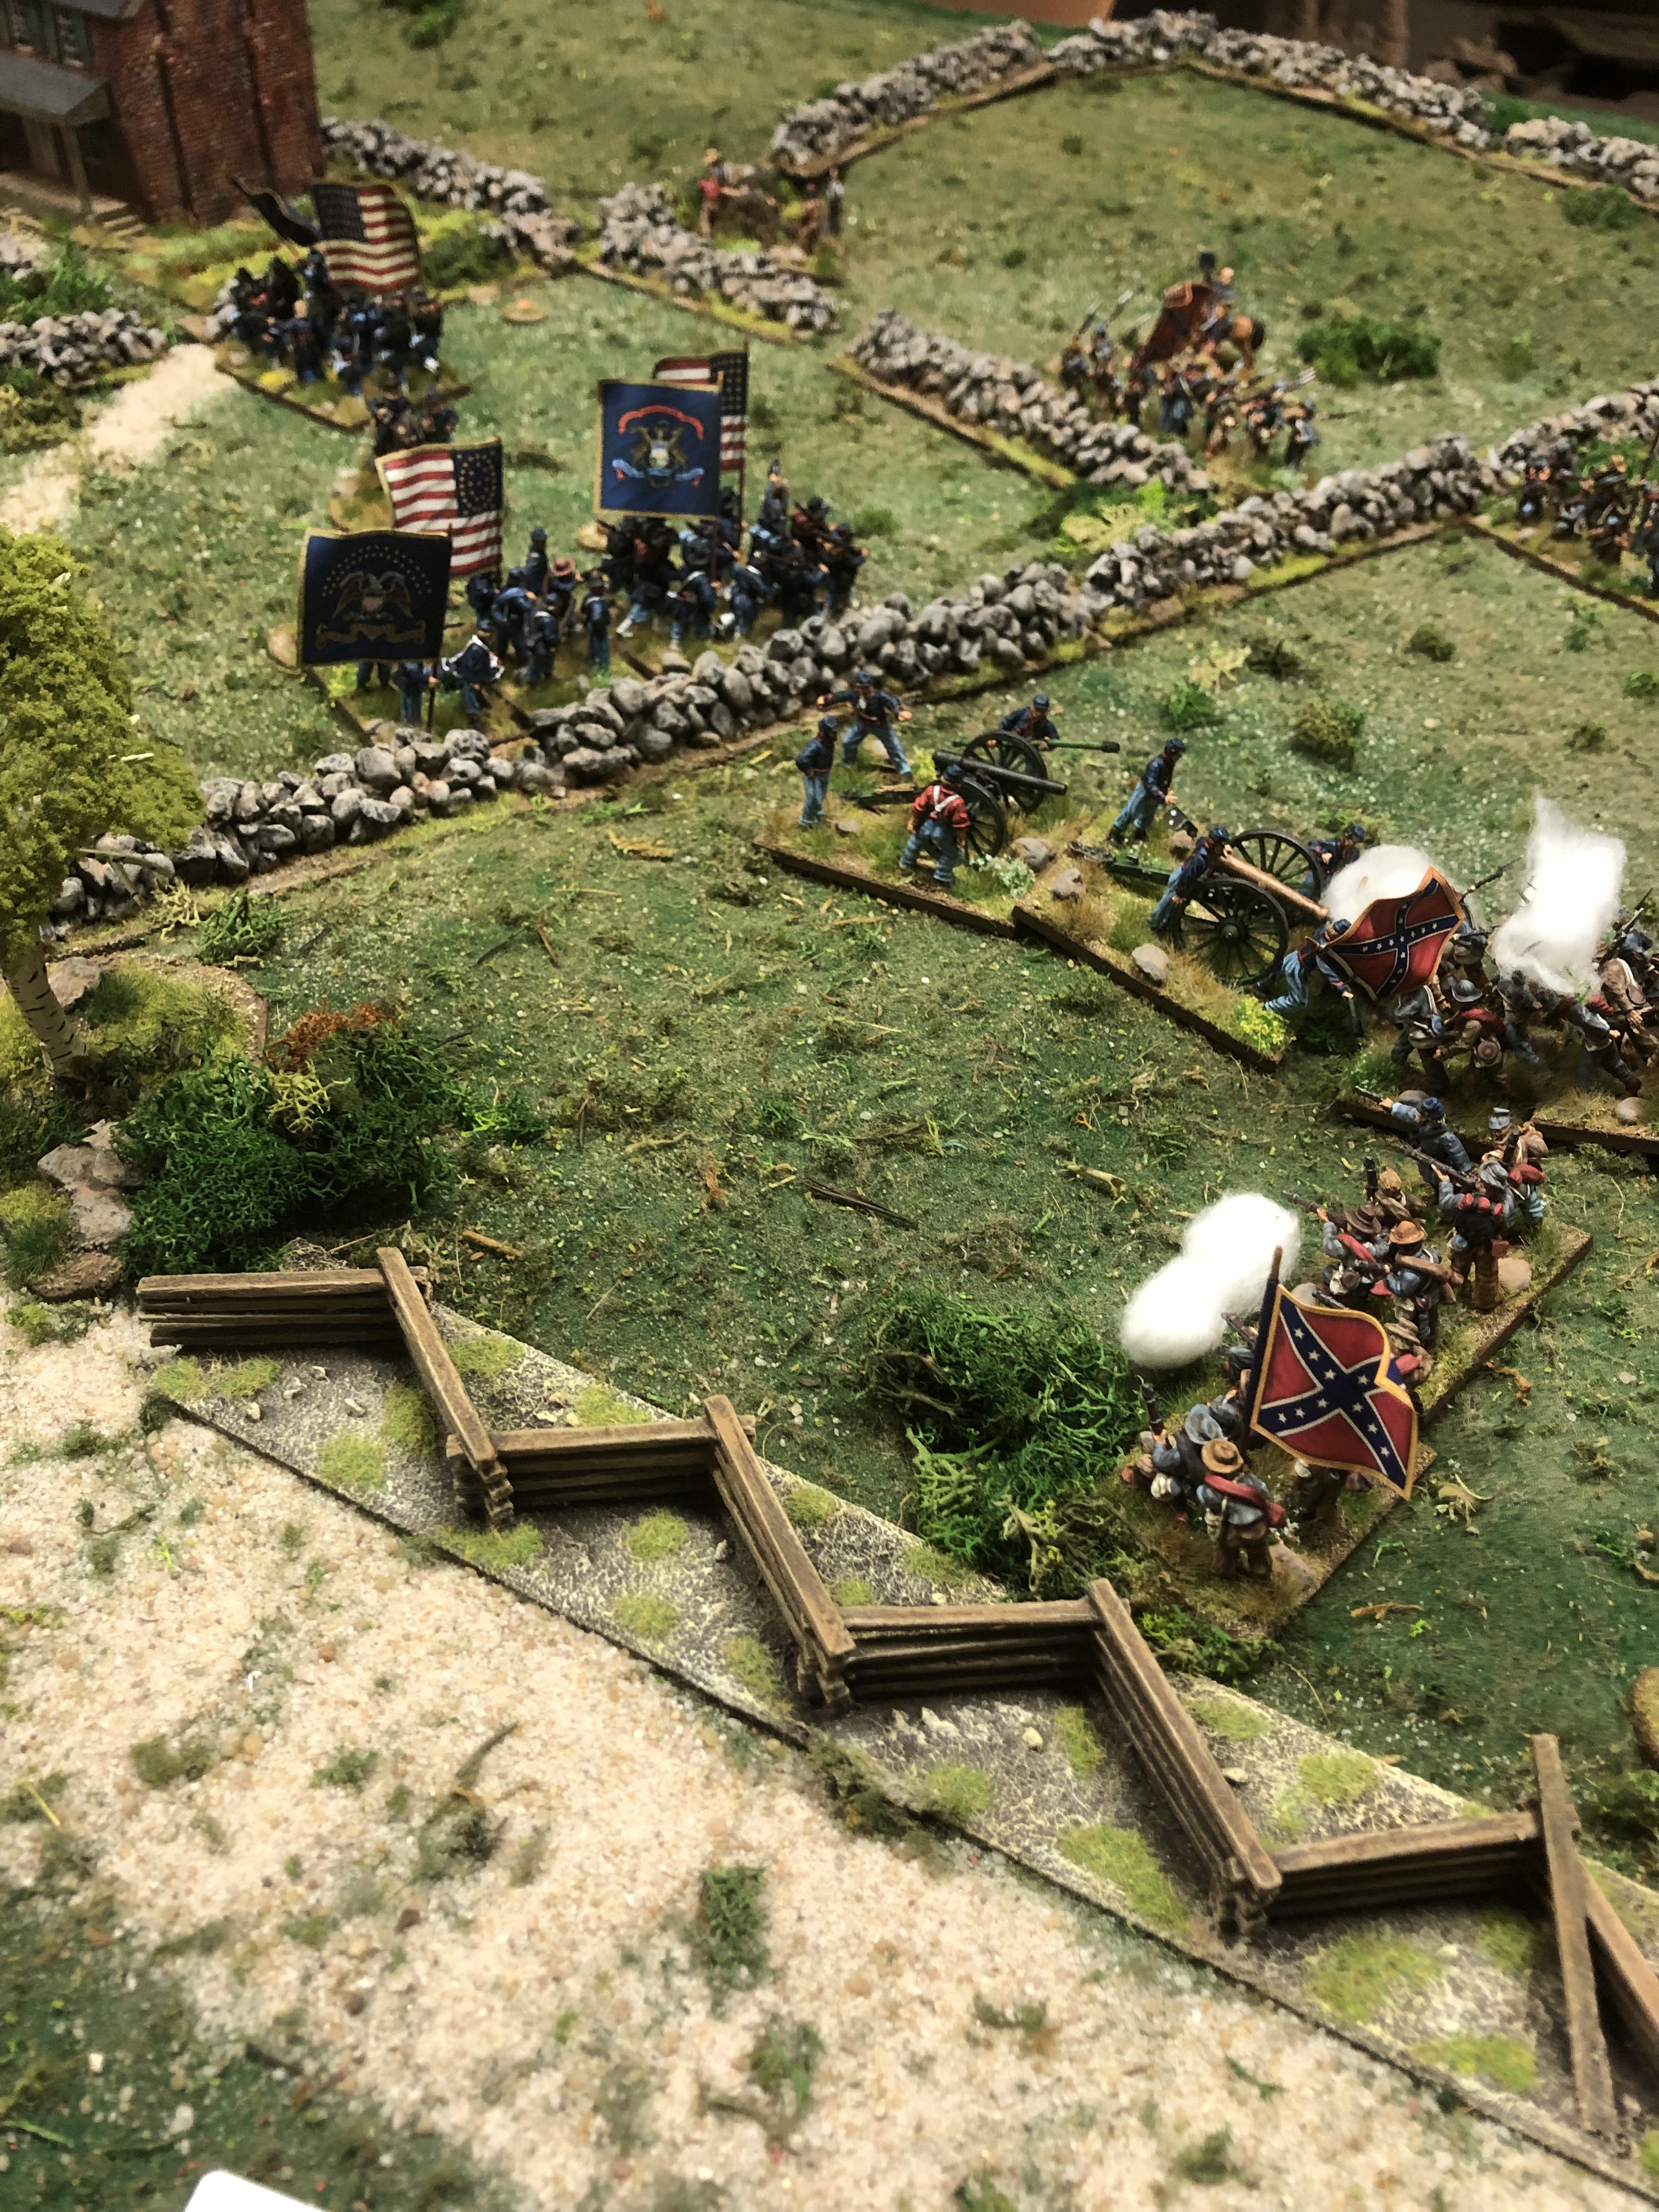
| On the top you can see the result of the cavalry fights - only one Austrian regiment is left. The rest of the complete cavalry gone. But in the centre the Prussians managed to drive the Austrian infantry back. The woods are now under Prussian control. |
 |
| The Austrian right flank was still in good shape. But after two and a half hours the Prussians had won the battle by 10 to 6 victory-points. |
.JPEG)


.JPEG)
.JPEG)
.JPEG)
.JPEG)
.JPEG)
.JPEG)
.JPEG)
.JPEG)
.JPEG)
.JPEG)
.JPEG)
.JPEG)
.JPEG)
.JPEG)
.JPEG)
.JPEG)
.JPEG)
.JPEG)
.JPEG)
.JPEG)
.JPEG)
.JPEG)
.JPEG)


.JPEG)
.JPEG)

.JPEG)
.JPEG)
.JPEG)
.JPEG)
.JPEG)
.JPEG)


.JPEG)


.JPEG)
.JPEG)


.JPEG)
.JPEG)
.JPEG)
.JPEG)
.JPEG)
.JPEG)


.JPEG)
.JPEG)
.JPEG)
.JPEG)
.JPEG)
.JPEG)
.JPEG)
.JPEG)
.JPEG)


