Saturday, November 30, 2024

"Warfare 2024"

Hi,

this post is about our trip to "Warfare 2024" in Farnborough. 

Franz, Bernd, Walter and I decided to visit this show a few months ago. We had never been to a wargaming show in England before and just wanted to know about the difference to conventions in Germany like "Tactica" and also "Crisis" in Antwerp.

It took us two days to get there by car from Bavaria and using a ferry from Calais to Dover for the first time had been a little adventure itself. After staying in Farnborough for three nights our trip home took us another two days. A distance of about 2.500 kilometers, but it was worth the efforts.Driving on the left side of the road was aslo very unusual at first. We managed this quite well, but we don´t know about tickets from the police right now. So keep your fingers crossed. :)

The show had been very large and there had also been a lot of people. But the great thing was that though there had been a lot of visitors there was enough space so it did not seem to be overcrowded. 

And - every single person had been very polite so we enjoyed the show very much.

My personal highlight was to meet Ray Rousell in person. You should have a look at his great blog here

Here are some photos of this very cool event. It was a lot of fun and we are already making plans about visiting "Partizan" next year. Clear all the streets for we plan to go there by car again. :)

Cheers

Mike 


For more information about this show you should also have a look at the following links:

https://onelover-ray.blogspot.com/2024/11/warfare-wargames-show-2024-rejects-view.html

https://www.youtube.com/watch?v=mxEqupvCJQI

https://www.youtube.com/watch?v=Tuqq0S0wBJ8


The entrance

About 5 to 10 minutes after entering the show I was lucky to meet Ray Rousell. From left to right:
Ray, my comrade Bernd, Lee and me.


This was a stunning terrain of Stalingrad.


A table with very nicely painted figures.


I like this jungle terrain very much.


Battle of Trafalgar.


An impressive table about D-Day.


A game using the rules of Armati - a rulesystem we also used to play some years ago.


One of the many stalls offering fantastic terrain pieces.


Someday I am gonna try to rebuild this ponton bridge for sure.

That´s why I took some extra photos of it.


One of the tables for tournament.


"Get Rommel"


This gaming table was one of my personal favorites because of its topic and the terrain.

Hey Christopher (aka Axebreaker) - this is the kind of stuff we both like...

..fantastic terrain and warfare in AWI.


Tuesday, November 26, 2024

Terrain: Building a wooden fort for my FIW toysoldiers - WIP - Part 2

Manufacturer:   selfmade from styrofoam

Scale:   60mm (1:30)


Hi again,

here is an update on my WIP of constructing a wooden fort by using styrofoam. There is still a long way to go as I will need to build some more sections like straight sections, corner sections, a gate and some buildings. 

Due to the scale the build will need a lot of space. But I want to build the fort modular so it can be placed in different styles like I already did while building my fort in scale 28mm for "Muskets&Tomahawks".

So here are some pictures about my last efforts on this project. 

Hope you like it. :)


Cheers

Mike


The first corner section is finished and ready for being painted.

Some of the straight sections are also finished.

Some defenders.


As always I could not resist to place the WIP within a little fighting scene.


Thursday, November 7, 2024

Terrain: Building a wooden Fort for my FIW toysoldiers - WIP

Manufacturer:   Selfmade

Scale:   1:30 (suitable for 60mm toysoldiers)


Hi,

as I have posted about a finished test section of a wooden fortification about two or three weeks ago I decided to get into this project completely. This will take some time. But after having posted some pictures of this project within the Facebook-Group concerning JohnJenkins figures I got a lot of positive reactions. https://www.facebook.com/groups/333462707235698

So - let´s do it.

As this is WIP there will be several posts about this project. I want to do this in a kind of a tutorial how I made the single sections.

Within this post I will show you a bit of the techniques an tools I am gonna use.

Hope you enjoy it.


Cheers

Mike


First of all I got my styrofoam into shape. The height of the platforms is going to be 9cm with a 0,5cm boardwalk on top. For the corner sections I made a template from cardboard. This will help me to reproduce more corner sections if I would like to expand the fort.

Further I got me some other "test" sections to see if the project would work.

You can see the already painted test section that I had posted a few weeks ago. The unfinished log cabin had been constructed some months ago and within this project I want to finish it aswell.

Next step was to cut another plate of styrofoam into stripes 1x1cm each by using my Proxxon foam cutter.

Now it is time to get the rectangular stripe into a rounded shape.

You have to use the right kind of foam here. There are some types of foam that are not as easy to get into shape by pressing it with your fingers. Believe me - this will get you sore muscles within your fingers.

So I found me a better way. Rolling the stripes is also stressful but not as hard as pressing the stripes with your fingers.

That´s a good result to continue.

A already prepared section. 9,5cm in height, 6cm deep and 20cm in length.

Now cut the rounded stripe to 20cm length...

...and glue it on to the bottom of the wall section,...

...use some pins to fix it,...

...and sink the pins completely into the foam. Later they will look like nails fixing wooden logs.

The section fully planked with logs.

Here comes the next step:  grap a modelling scalpel that´s not too sharp...

...and begin lightly to carve some structure into the foam...

...so that it looks like this. A nice irregular structure looking like the bark of a tree.

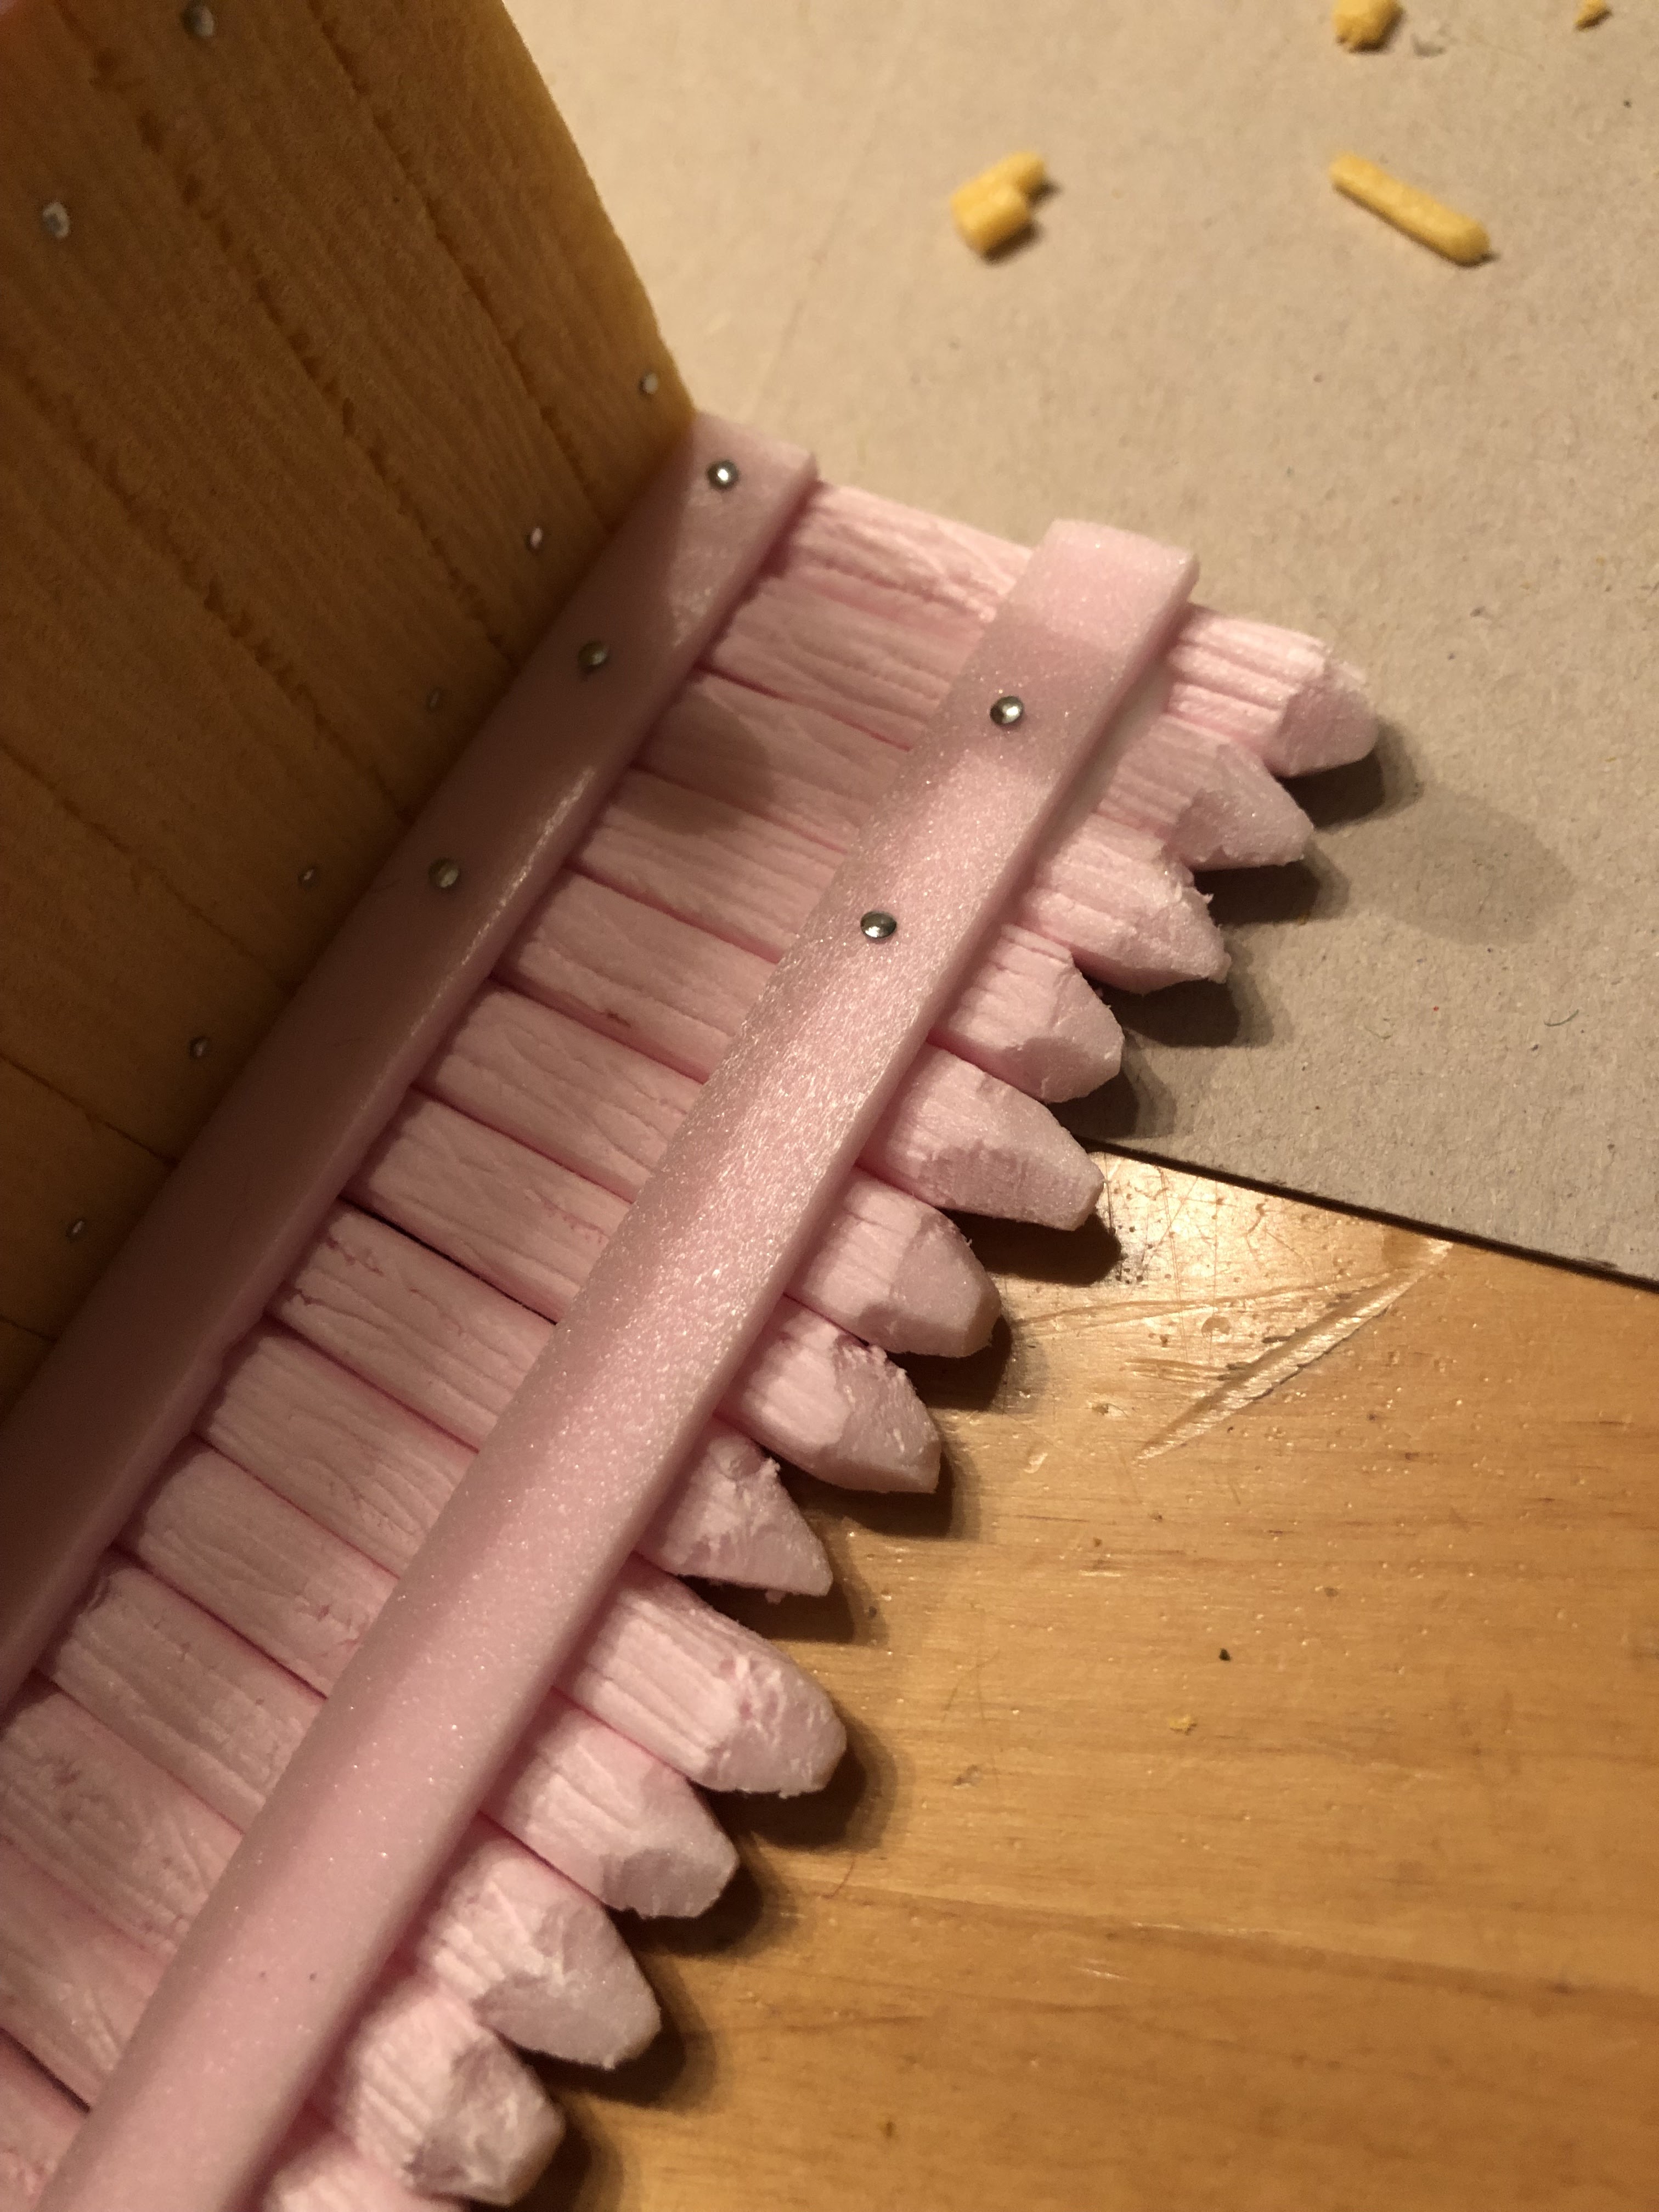
Now take another rounded stripe of foam and get the top into shape by using a cutter knife.

Place at least two logs at the ends of the section like this and again fix them with some "nails".

These logs also have to be structured.

Now the other side of the section is planked with vertical logs, that also have been structured and fixed with "nails" by using pins.

Now I used real nails. I had to search for very short nails because for the next step the normal pins would have been too long.

On the inner side of the section I placed two stripes of foam of about 1cm x 0,3cm.
This time I fixed it with the short nails to avoid that the spike would pull out on the other side of the single logs.

So this section is done. And this took me about three hours to do.

Does it fit to the rectangular corner section? I think so. :)
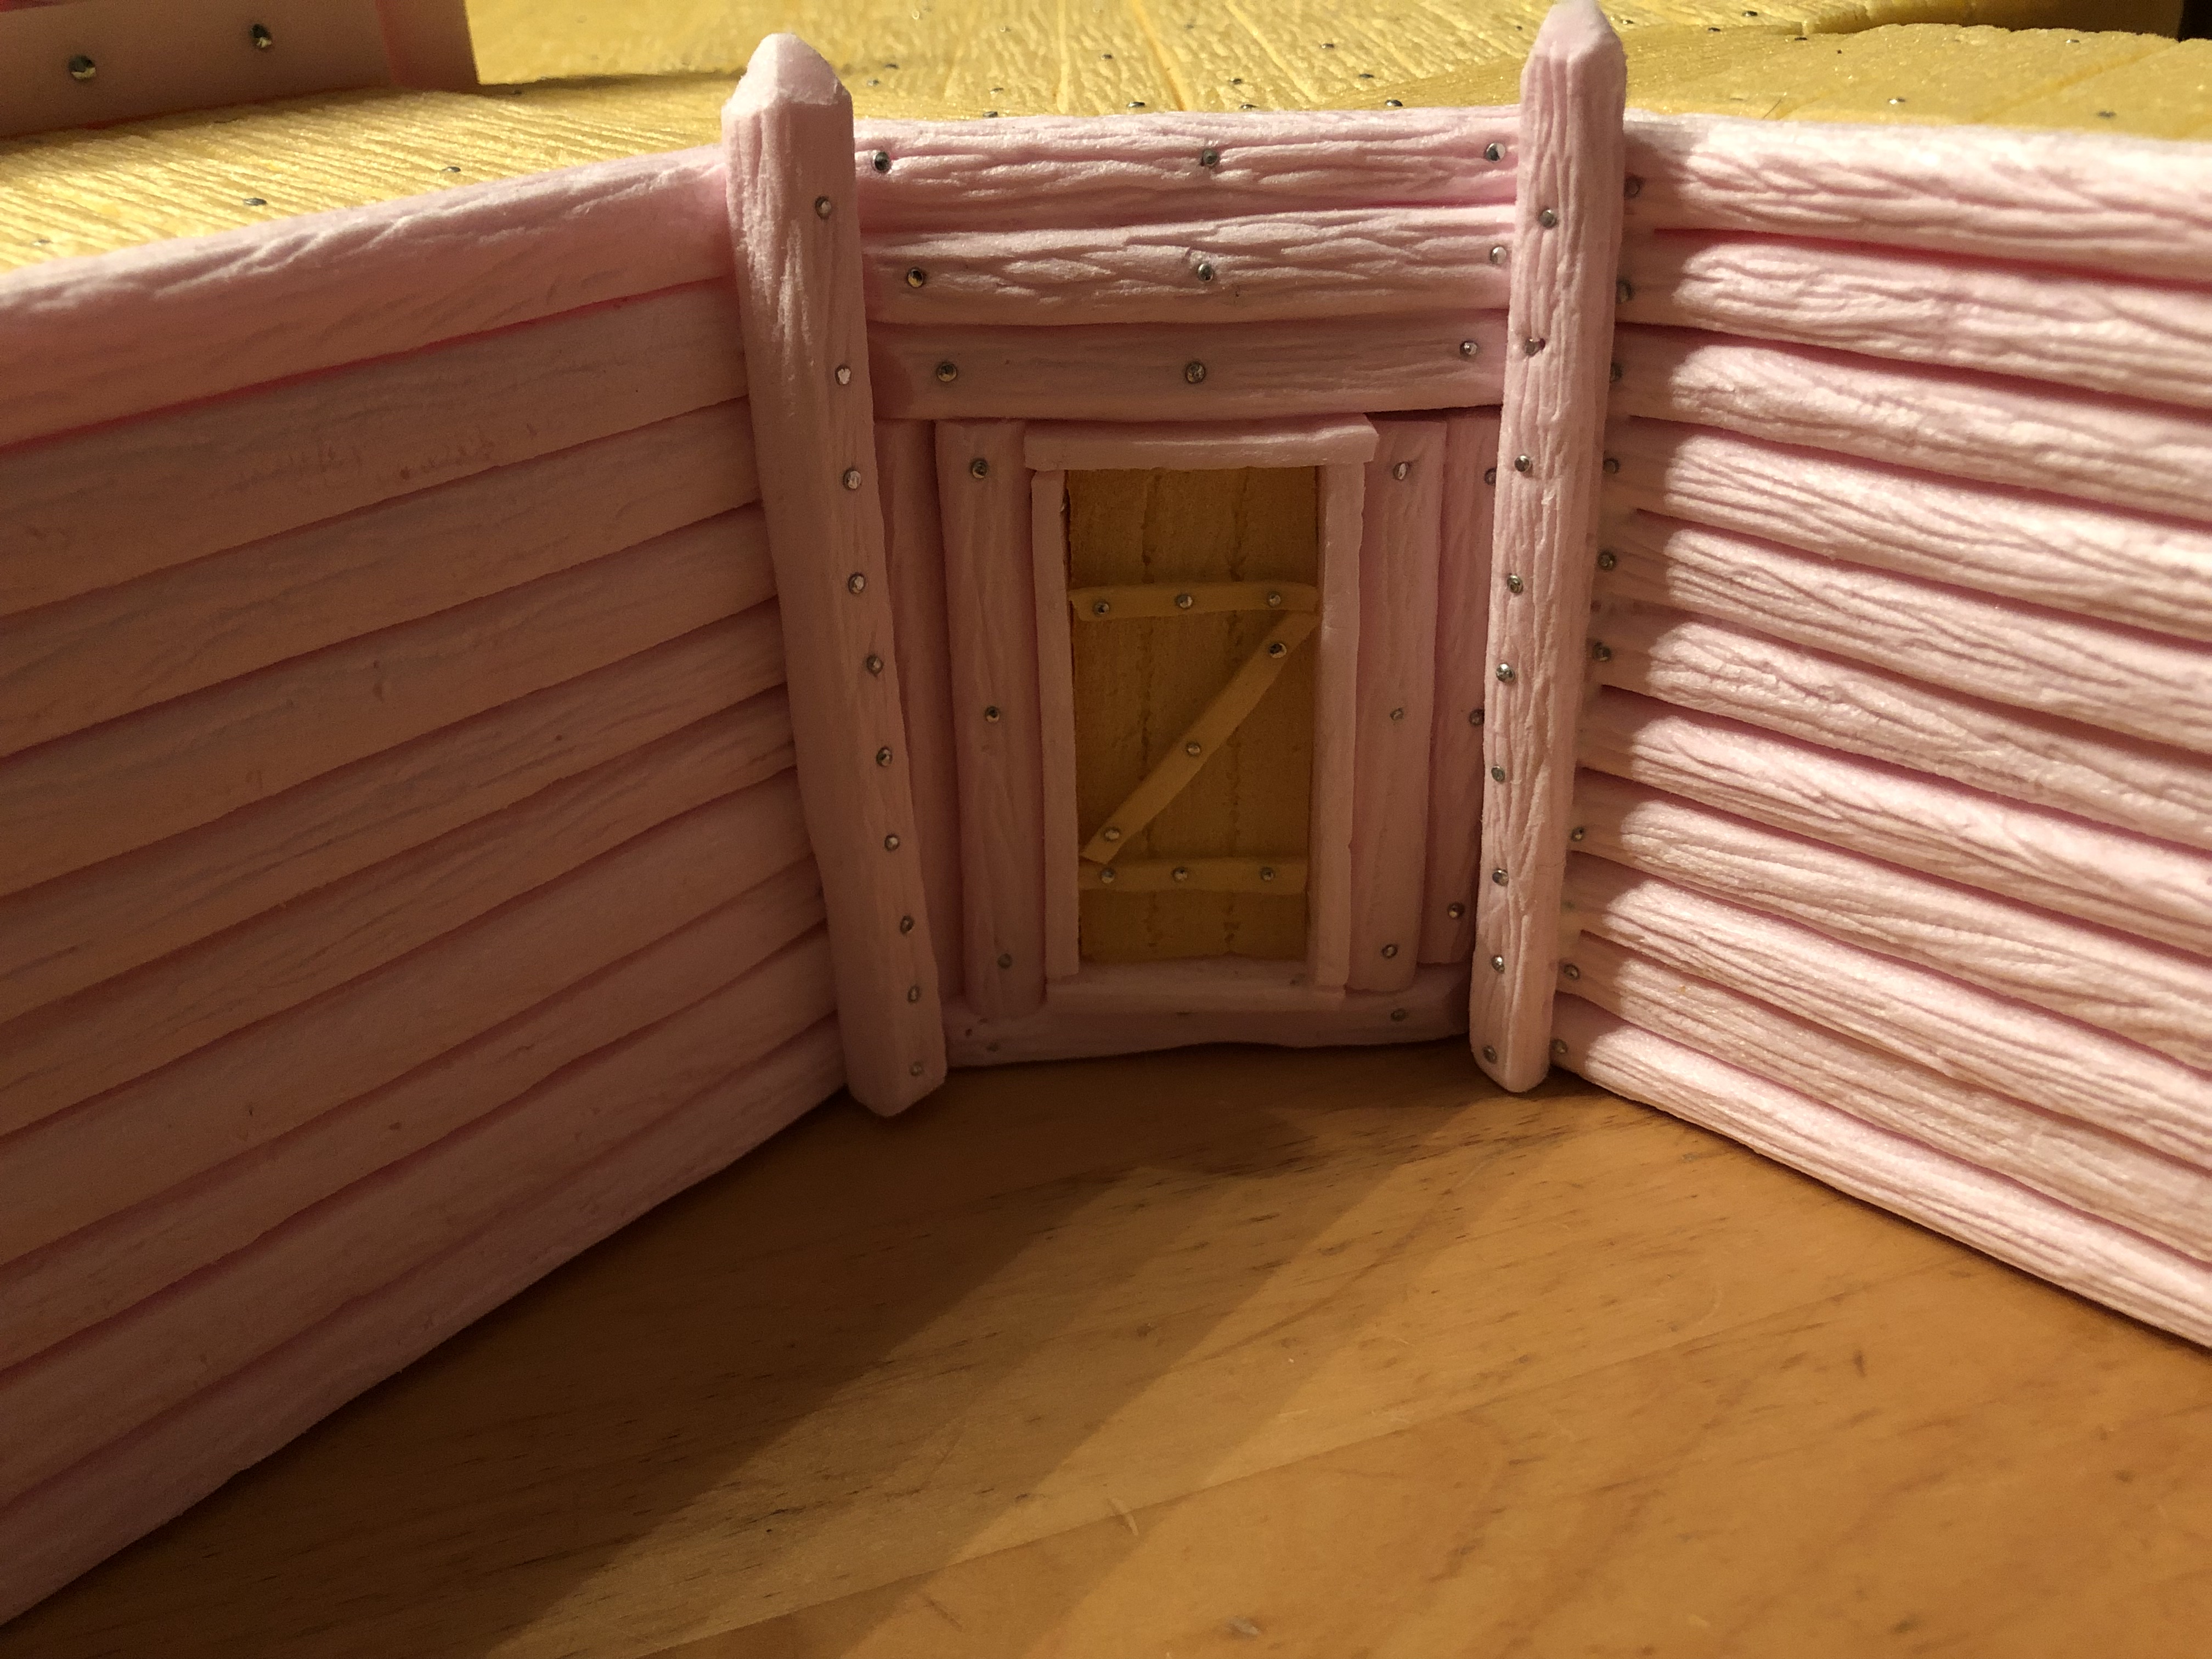
Now I concentrated on the corner section that should representate a kind of Vauban style. First of all I created an entrance into a hidden storage room. 


Then I carved the structure of the walkway into the top of the section.

The result after about one hour.

Again a lot of pins had been used to give the impression of nails.

I also started to plank the second straight section just to look if every log is in its right place after putting the modular sections together.

In my opinion this is a pretty good result.

This also seems to fit pretty well.

My efforts for this first WIP.

What are your thoughts about this?